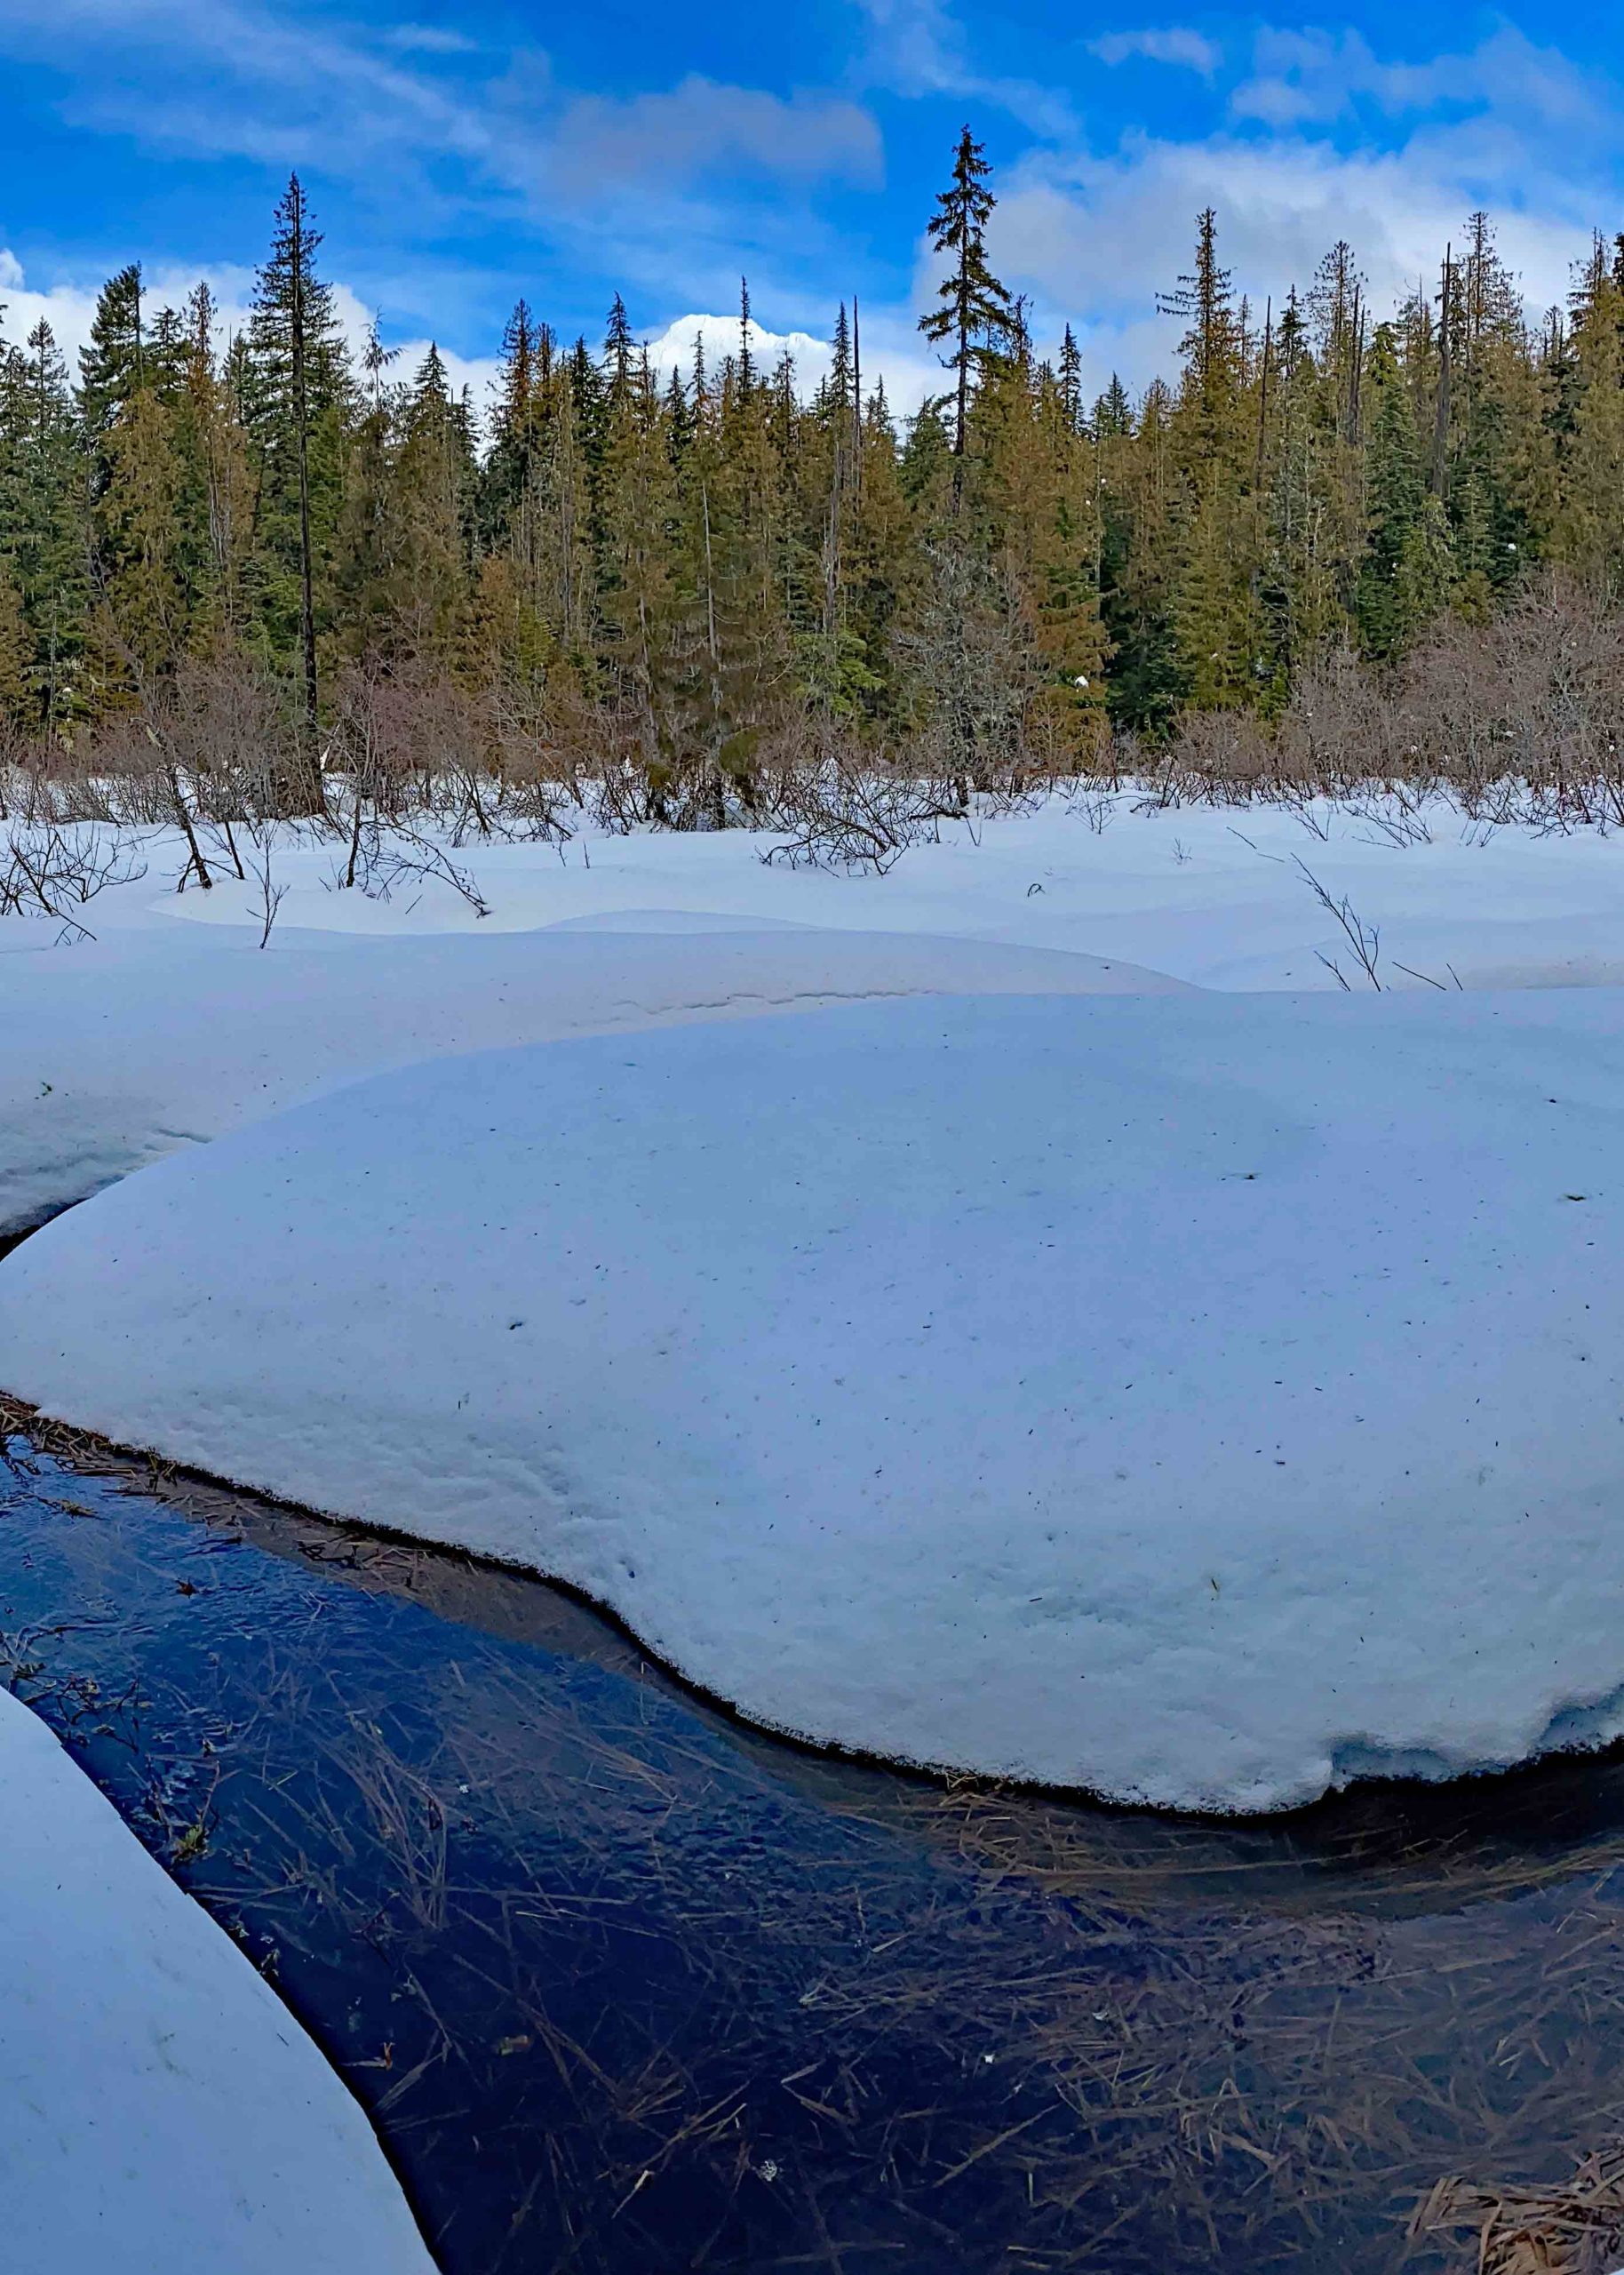
Crosstown Trail and the adjoining trail network at Government Camp, Oregon is a great place for easy snowshoeing.
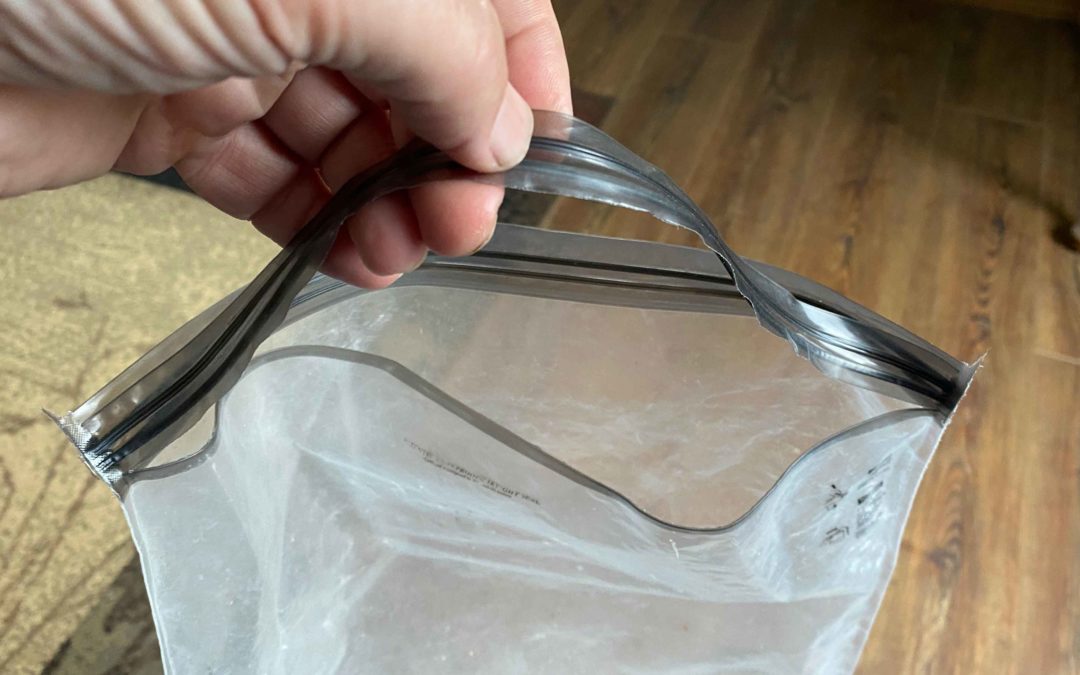
LOKSAK OPSAK Odor Proof Bags
I bought these LOKSAK OpSak odor proof bags last year and took one of these bags on a recent trip. The bag had never been used before and the seal separated from the bag and totally failed the second time I closed it. I looked at the warranty and it is only for 45...
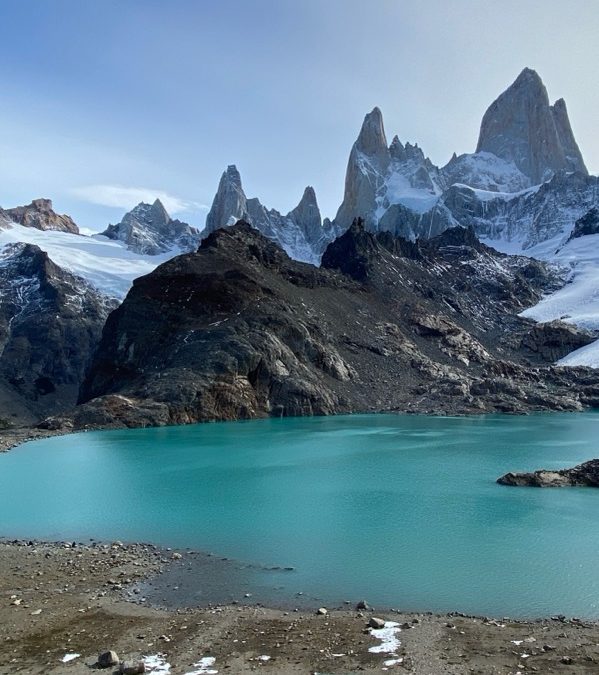
Mt. Fitz Roy Loop Patagonia, Argentina
This loop was 35 miles. We arrived after a long bus ride crossing the border from Chile to Argentina. It was an easy border crossing. We stopped at a gas station and mini-mart in Argentina but o had brought some snacks so I didn’t buy anything. From the bus depot, it...
Recent Comments